To send email using SQL Server, we need to setup Database mail. In this article, I will demonstrate how to set up SQL Server Database Mail.
Steps to Setup Database mail in SQL Server:
Step 1:
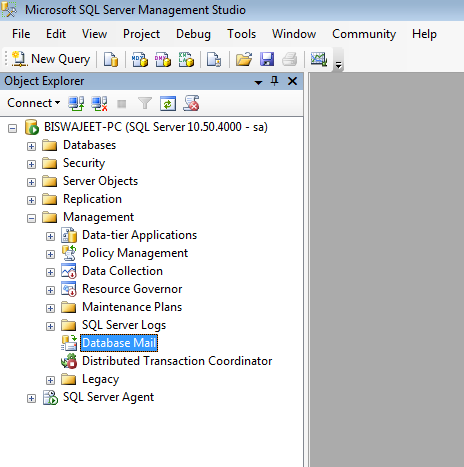
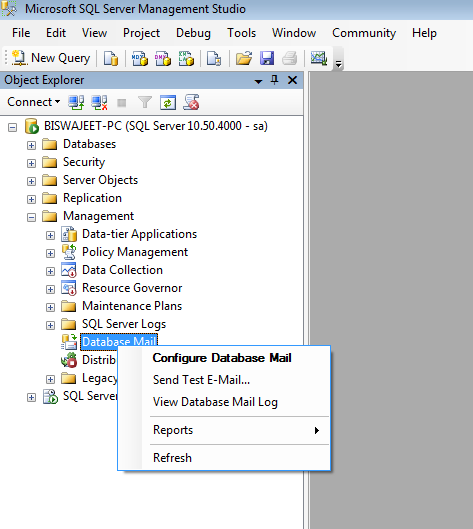
Expand “Management” folder and select “Database Mail”.
Step 2:
Right click on “Database Mail” and select “Configure Database Mail”.
Step 3:
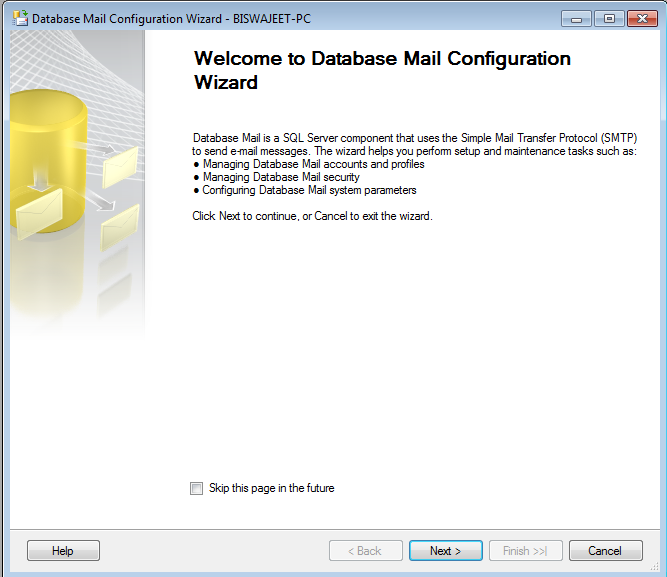
After click on “Database Mail” you will get below screen, click on “Next” button.
Step 4:
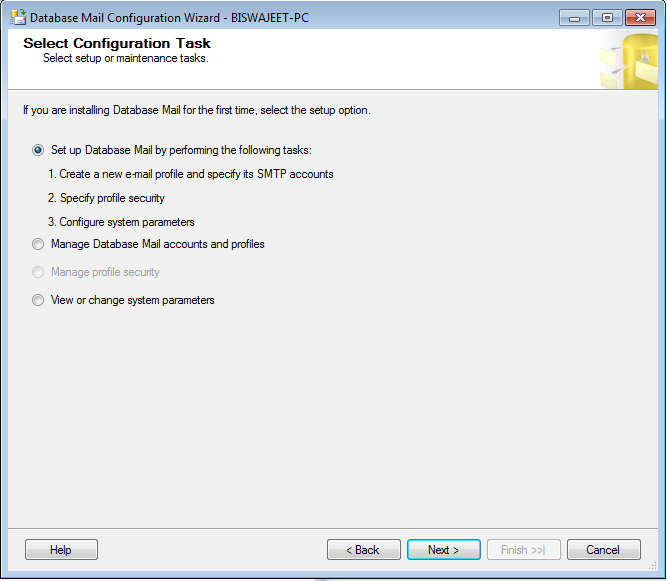
Here select first option and click on “Next” button.
Step 5:
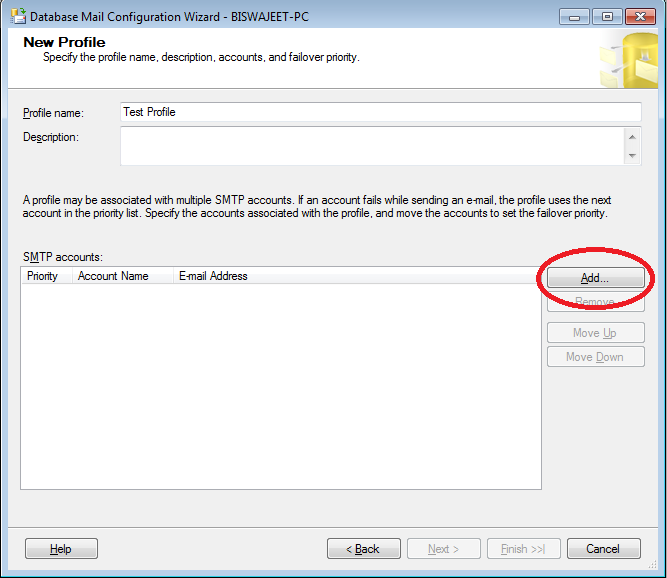
Here enter the “Profile Name” and “Description” and click on Add button to add SMTP account.
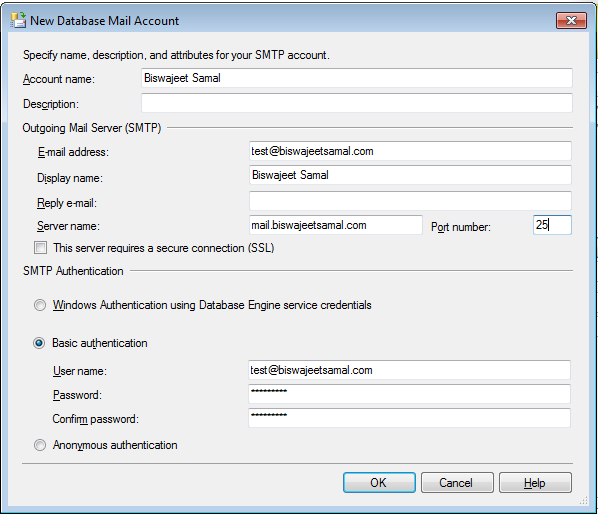
Step 6:
Enter “Account Name” and “Description”. In the Outgouing Mail Server(SMTP) section enter Email Address, Display Name, Reply E-Mail Address (If required), Server Name and Port Number. In SMTP authentication select “Basic Authentication” option enter User Name, Password and Confirm Password and then click on “Ok” button.
Step 7:
Click on “Next” button.
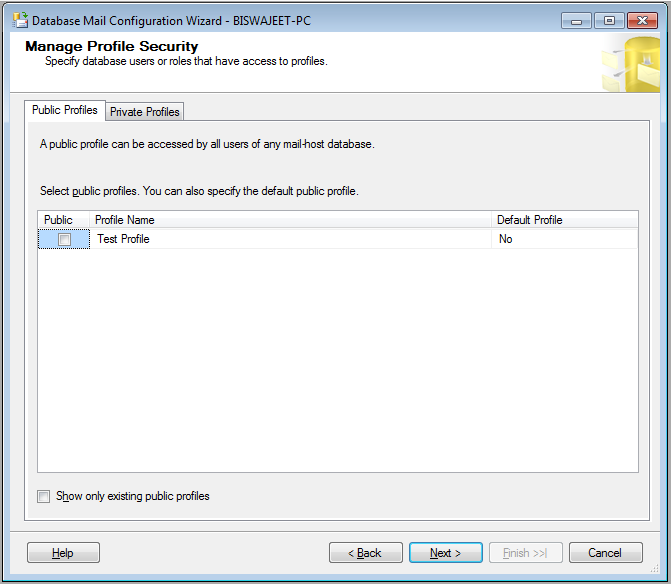
Step 8:
Click on “Next” button.
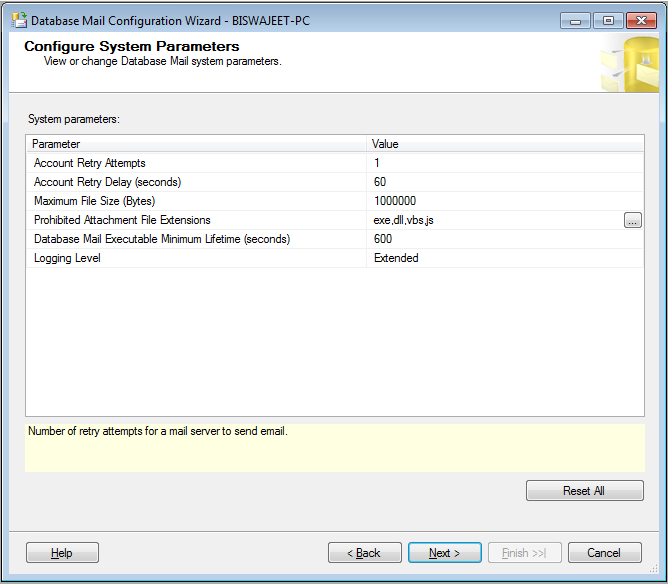
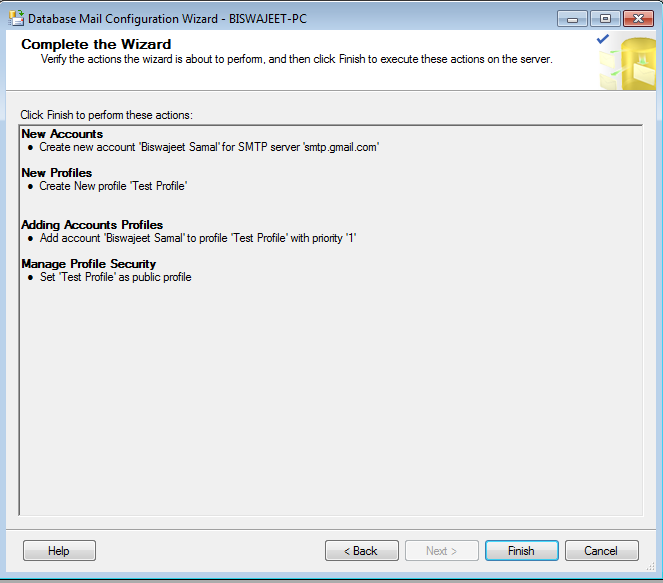
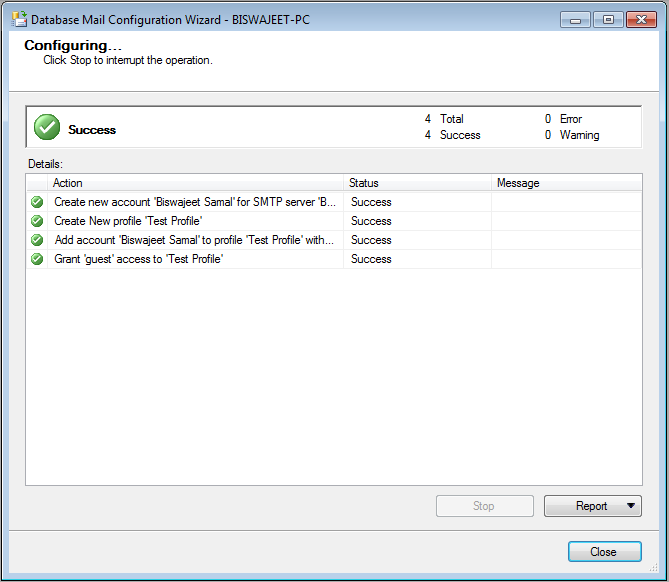
Step 9:
Click on “Finish” button.
Step 10:
Click on “Close” button.
Step 11:
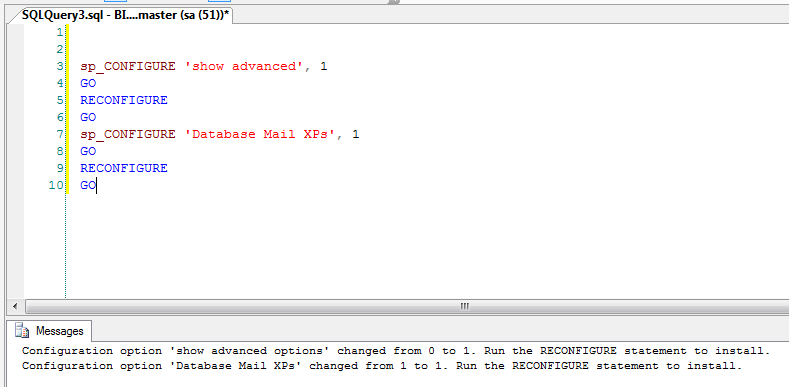
After create the Account and the Profile successfully, we need to configure the Database Mail. To configure it, we need to enable the Database Mail XPs parameter through the sp_configure stored procedure, Below are the sample code:
sp_CONFIGURE 'show advanced', 1
GO
RECONFIGURE
GO
sp_CONFIGURE 'Database Mail XPs', 1
GO
RECONFIGURE
GO
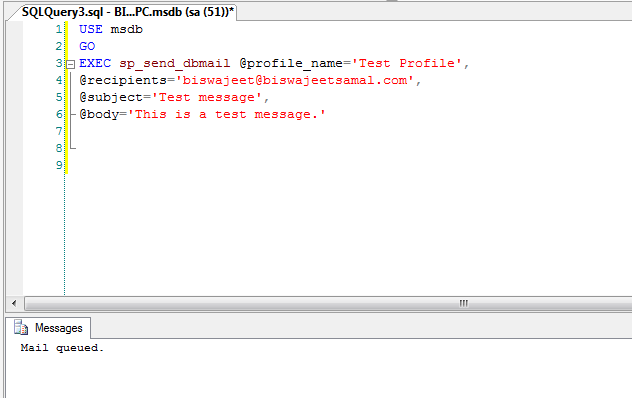
Now I have completed all configuration for “Database Mail” setup and ready to send email. To send mail, we need to execute a stored procedure sp_send_dbmail and provide the required parameters. Below are sample code to send a test mail:
USE msdb
GO
EXEC sp_send_dbmail @profile_name='Test Profile',
@recipients='biswajeet@biswajeetsamal.com',
@subject='Test message',
@body='This is a test message.'
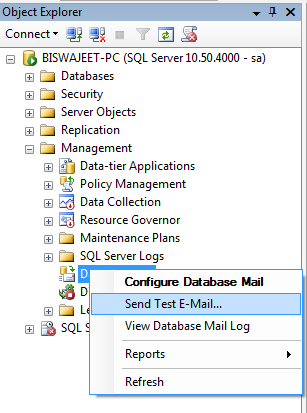
Also we can send test email from here.
Step 1:
Expand management folder and right click on “Database Email” and click on “Send Test E-Mail”.
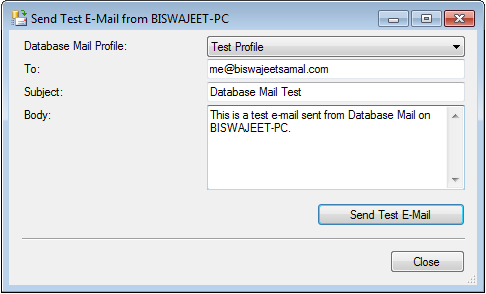
Step 2:
Here select Database Mail profile, from which profile you want to send E-Mail, and enter to E-Mail address, subject, body and click on “Send Test E-Mail” button. And now check your To e-mail box.