public class SecondPageController {
    public String name {get;set;}

    //Constructor
    public SecondPageController(){
        name = System.currentPageReference().getParameters().get('name');
    }
}
To know more about custom label Click here Step 1:
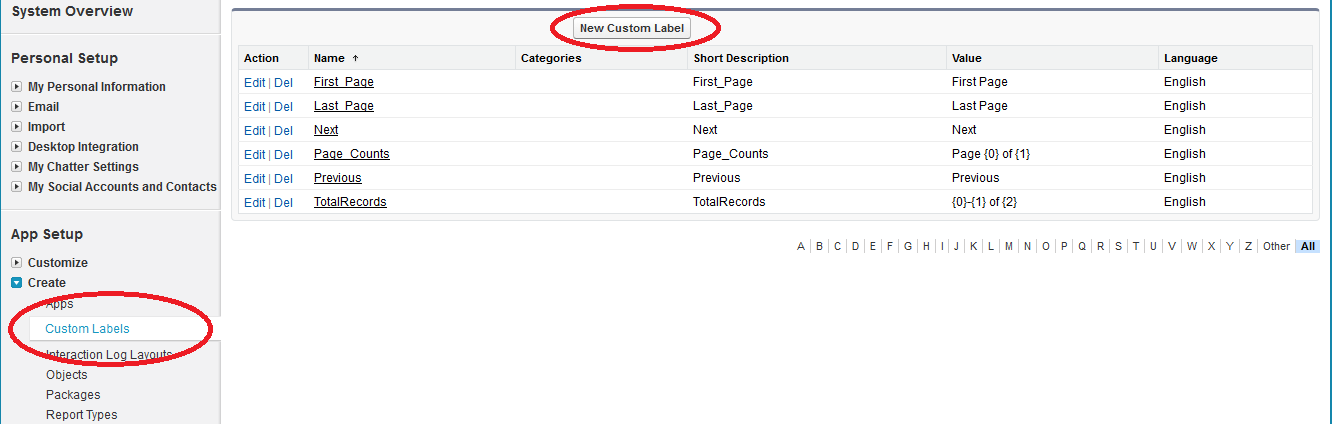
Go to Setup –> App Setup –> Custom Labels. Step 2:
Step 3:
Here for dynamic populate custom label variable value, the custom label value has written like this “My name is {0} {1}”.
Step 4:
Now I’ll create an apex controller with two variable to send it custom label.
public class TestCustomLabel{
    public string FirstName{get;set;}
    public string LastName{get;set;}

    public TestCustomLabel(){
        FirstName = 'Biswajeet';
        LastName = 'Samal';
    }
}
Step 5:
Now I’ll create a visualforce page and use the custom label with parameters in it. Here the first parameter “FirstName” is for custom label “{0}” and the second parameter “LastName” is for custom label “{1}”.
Custom labels are custom text values that can be accessed from Apex classes or Visualforce pages. The value of Custom label can be static or dynamic from visulaforce page and apex class. The values can be translated into any language Salesforce supports. Custom labels enable developers to create multilingual applications by automatically presenting information (for example, help text or error messages) in a user’s native language.
In this article I’ll demonstrate how to use custom labels in visualforce page and apex classes.
Note: We can create up to 5,000 custom labels for your organization, and they can be up to 1,000 characters in length. Step 1:
Go to Setup –> App Setup –> Custom Labels. Step 2:
Step 3:
Step 4:
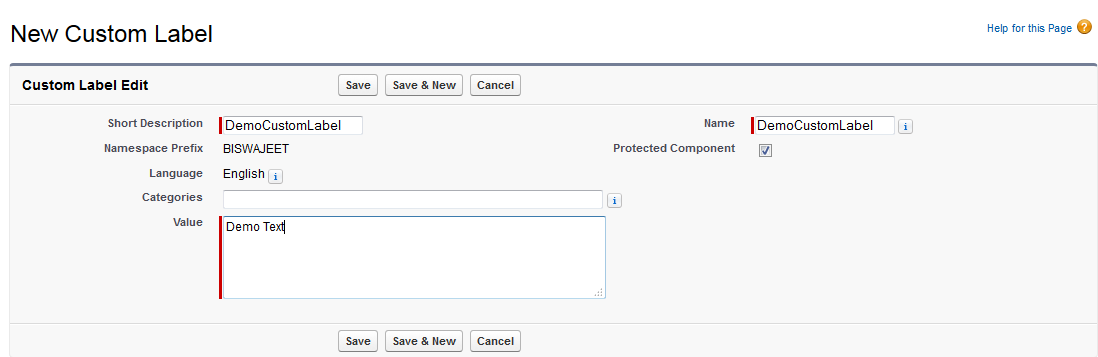
Now I’ll create a visualforce page and use the custom label in it.
<apex:page tabstyle="Account">
   <apex:form>
     <apex:pageblock>
       <apex:outputtext value="Custom lable value is : ">
       <apex:outputtext style="font-weight: bold;" value="{!$Label.DemoCustomLabel}">
     </apex:outputtext></apex:outputtext></apex:pageblock>
   </apex:form>
</apex:page>